
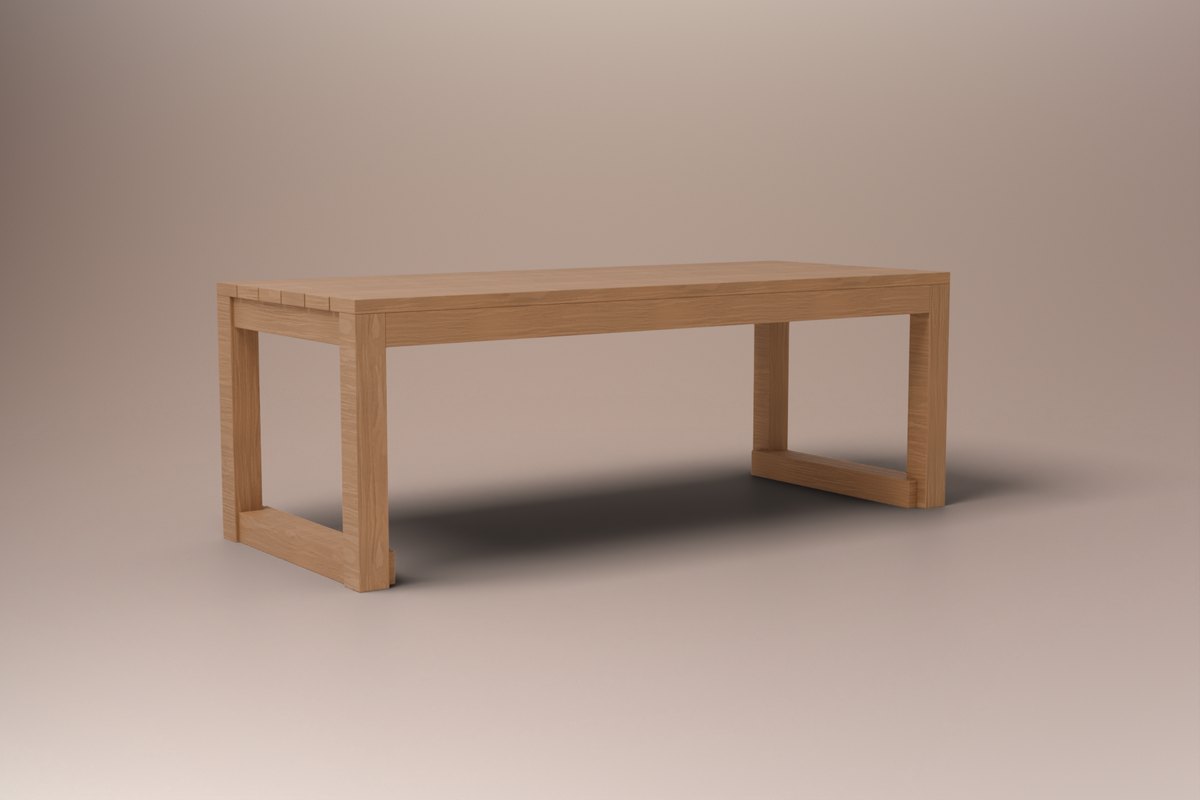
Drag to turn it. 3D model render, drawn from the plan itself; photos of the finished piece are coming soon.
Block Dining Table
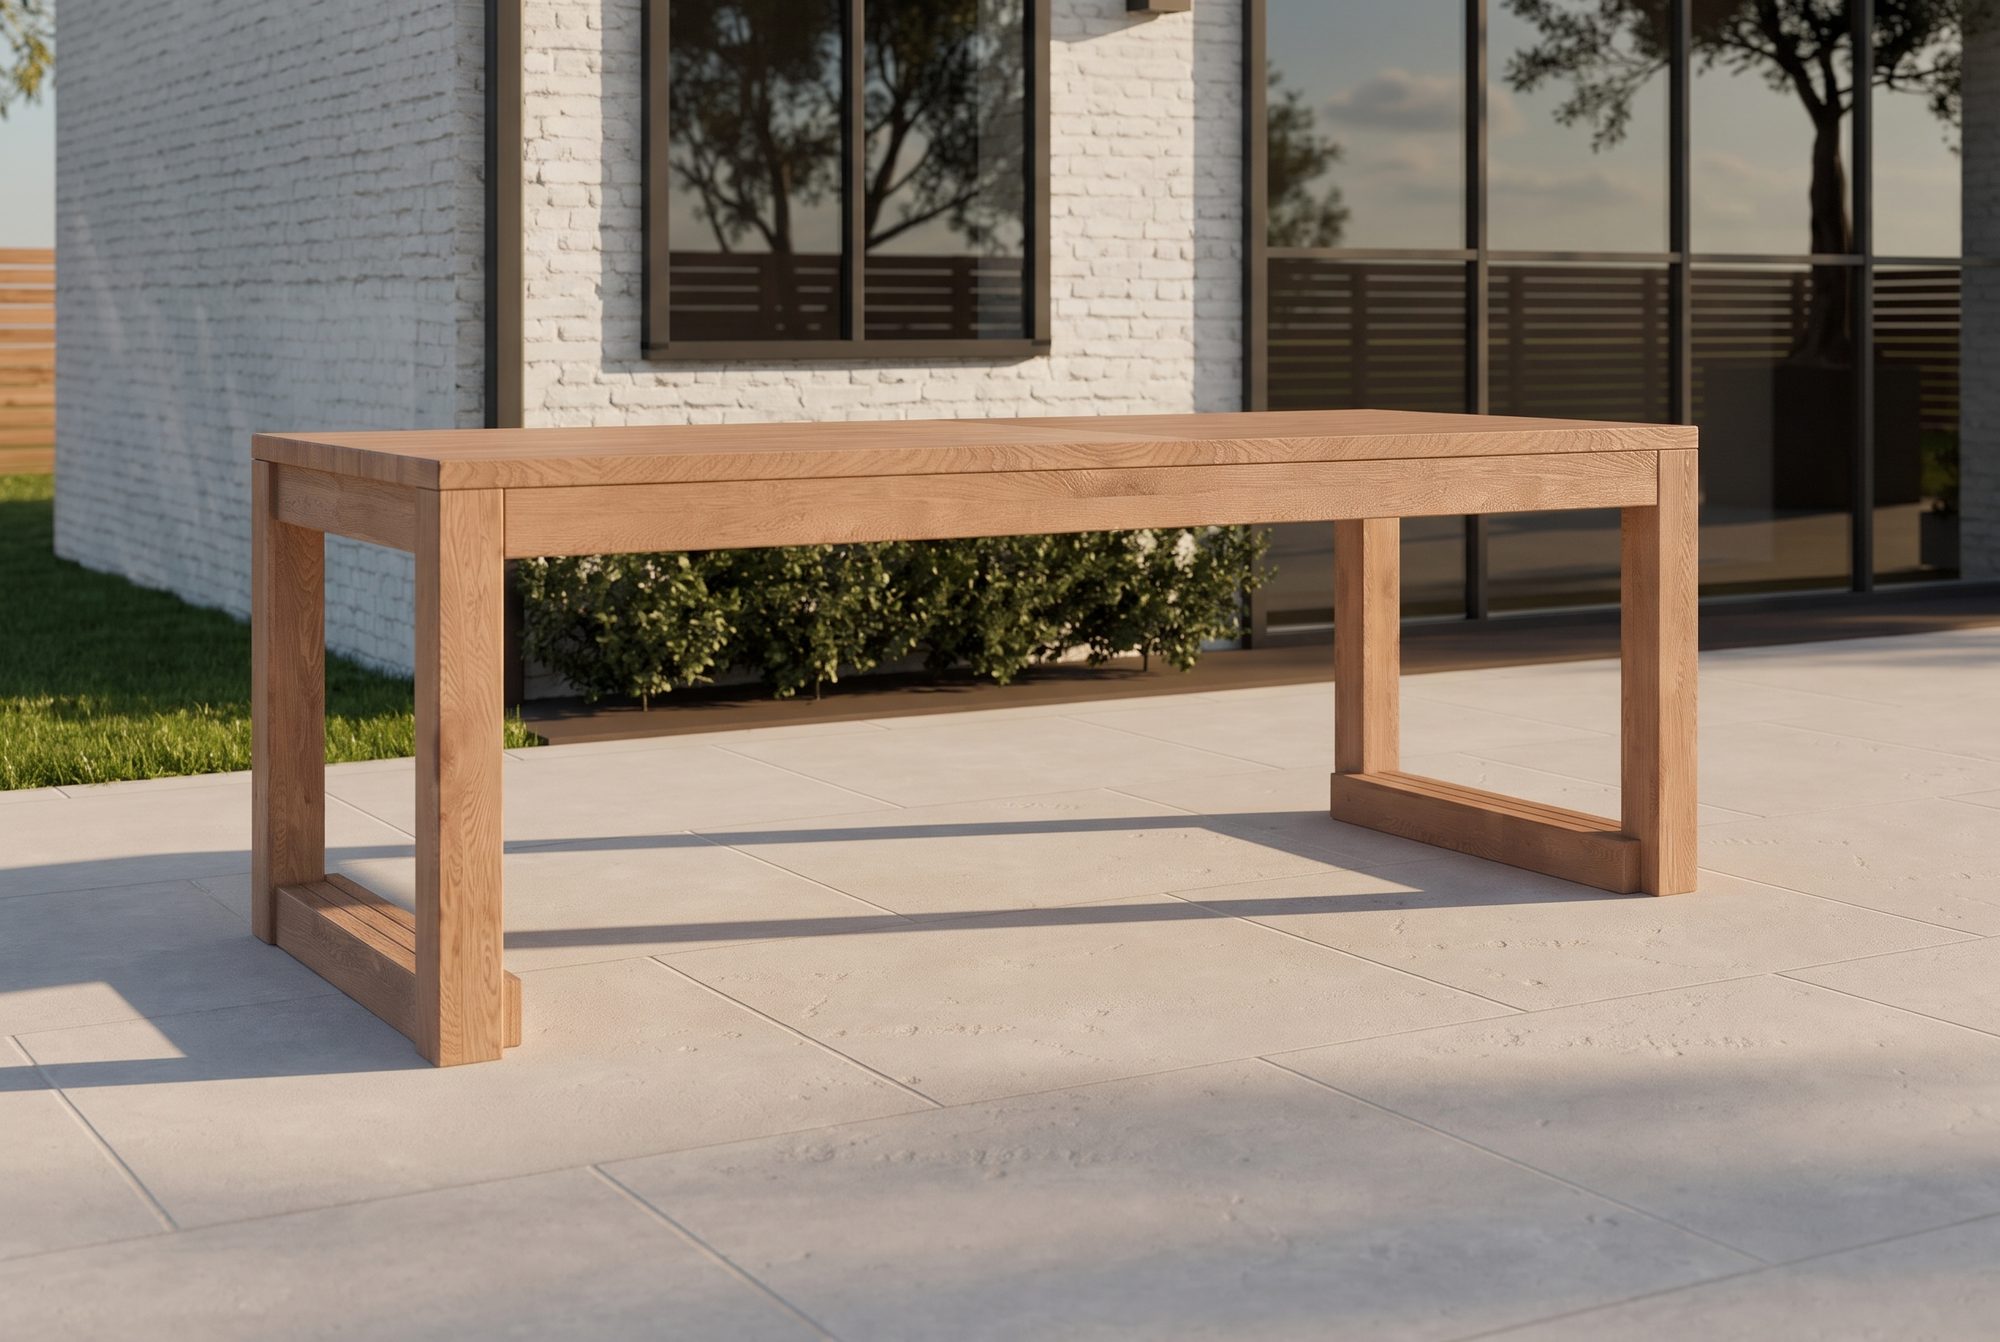
The Block look at dining height. Each end is an open square of 4x4 legs and rails, so you can see through the table and pull a seat up at the ends. Every screw goes in from the inside face, the aprons are held by hidden corner blocks, and the top screws into the rails' edges, never into end grain. The plan includes six sizes: 72, 84 or 96 inches long, and 6 or 7 boards (34¼ or 40 inches) deep, each with its own cut list, shopping list, PDF and 3D guide. Five cut lengths, 15 boards at the default size, and every screw was checked in 3D to land in solid wood.
- Skill
- Level 1
- Build time
- About 6 hours
- Size
- 84" × 34¼" × 30"W × D × H
- Lumber
- 15 boards, all 8 ft
- 72" × 34¼"6 top boards · seats 6
- 84" × 34¼"6 top boards · seats 8
- 96" × 34¼"6 top boards · seats 10
- 72" × 40"7 top boards · seats 6
- 84" × 40"7 top boards · seats 8
- 96" × 40"7 top boards · seats 10
Each with its own cut list, shopping list, PDF and 3D guide. The shopping list below is for the 84" × 34¼" table.
 Make it a set: Block Dining SetBlock Dining Table + Block Dining Bench + Block Loop Stool plans for $49Save $13See the free 3D build guide previewGive it as a gift
Build-ready or your money back. If anything in the plan doesn't work as drawn, email us within 30 days for a full refund.
You buy the materials at Home Depot, not here. Cedar: from $595.
- Printable plan and interactive 3D build guide
- One-trip Home Depot shopping list
- Yours to keep. Build it as many times as you like
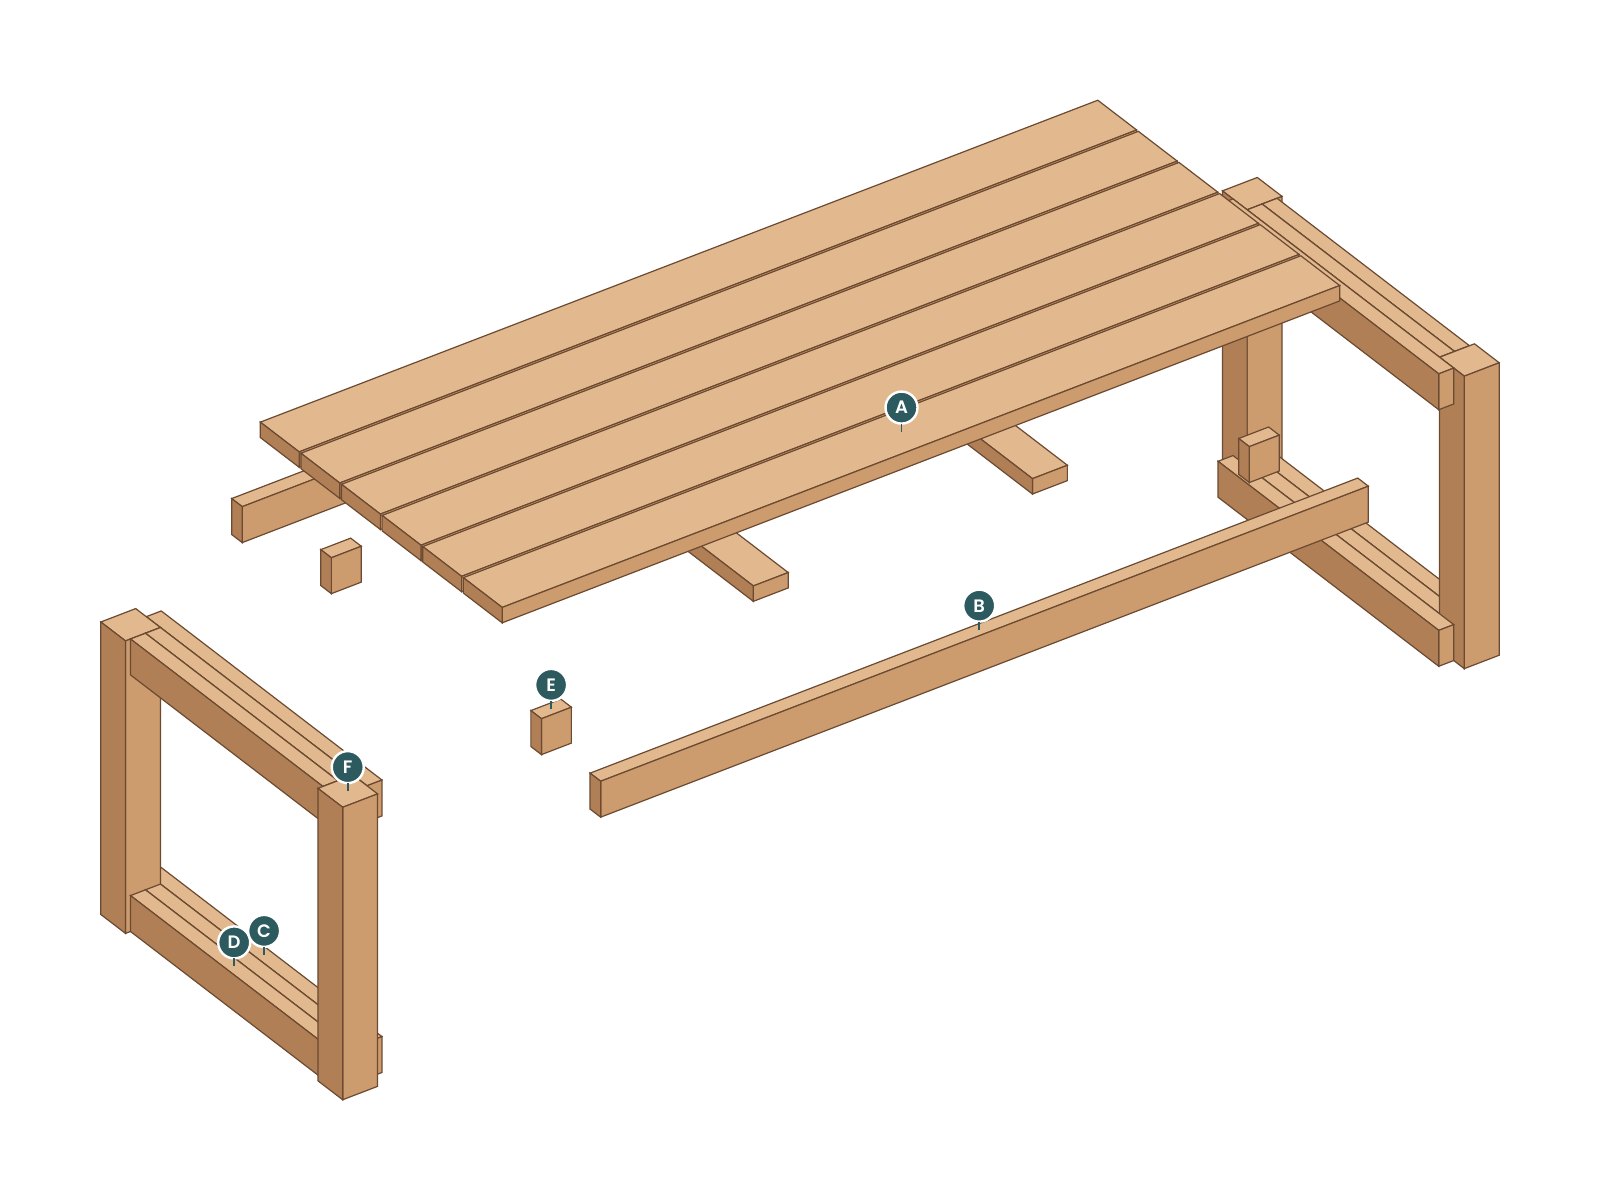
30 parts, only 5 lengths.
Every part gets a letter you pencil on its end. The drawings, the cut list, the cutting diagrams and the 3D guide all use the same letters, so you always know exactly which board you are holding.
- DrawingsFront, side and top views with dimensions
- Cut listEvery part by letter, board and length
- Cutting diagramsWhich part comes from which 8 ft board
- 6 stepsEach with time, check and common mistake
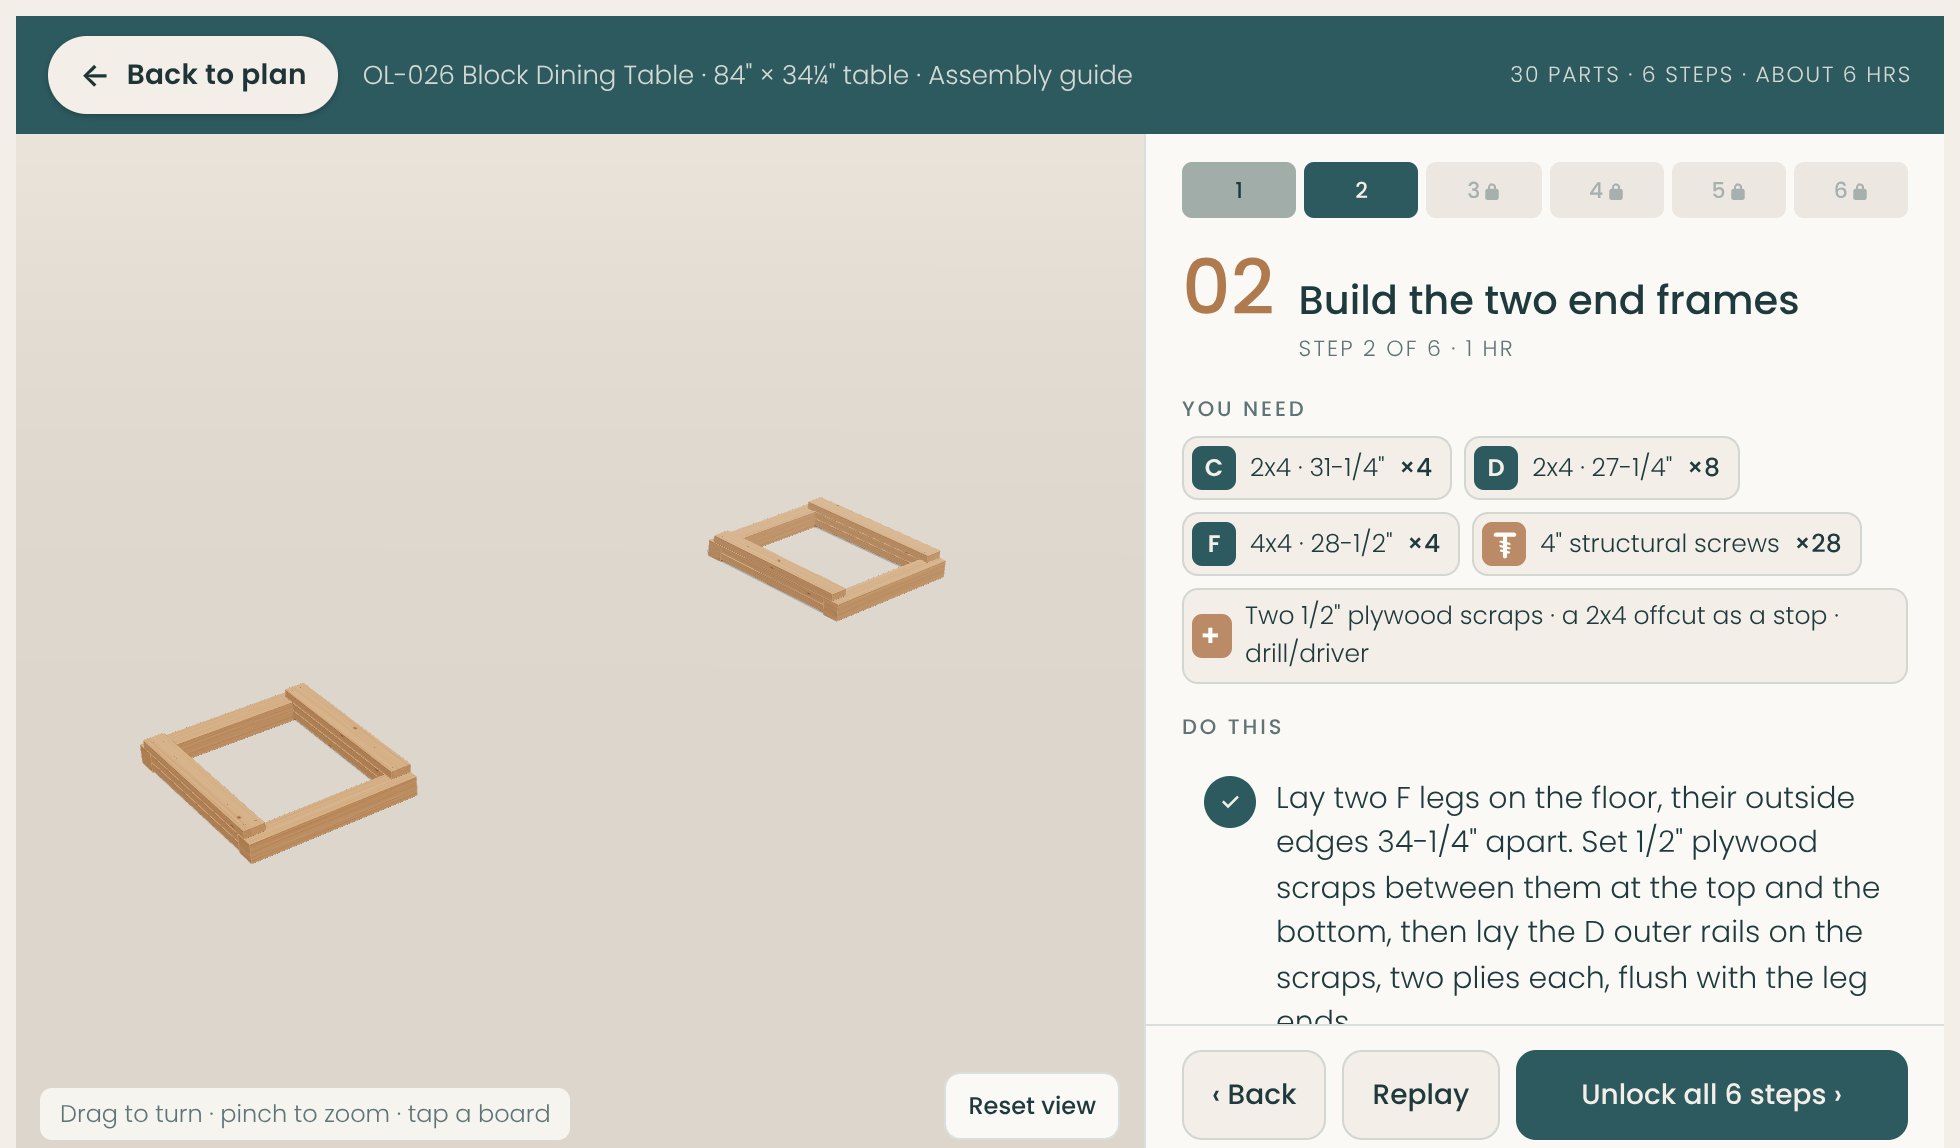
Try the build guide before you buy.
The first 2 of 6 steps are free. It’s exactly what you’ll follow in the garage, on your phone or laptop.
- Watch each step build itself, board by board, screw by screw.
- Spin and zoom the model with your finger or mouse.
- Tap any board to see its letter and cut size.
 Try steps 1–2 free
One list. One trip to Home Depot.
| Item | Qty |
|---|---|
| 4x4 × 8 ft pressure-treated pine, ground contact | 2 |
| 2x6 × 8 ft pressure-treated pine, #2 Prime | 6 |
| 2x4 × 8 ft pressure-treated pine, #2 Prime | 7 |
| 2-1/2" exterior wood screws, rated for treated lumber (hidden joints) | 32 (1 × 1 lb box) |
| 2-1/2" exterior trim-head screws, rated for treated lumber (top boards) | 24 (1 × 1 lb box) |
| 5" structural wood screws (GRK RSS or SPAX) | 8 (1 × 25-pack) |
| 4" exterior structural screws (GRK RSS or SPAX), for the end frames | 28 (1 × 50-pack) |
| Behr semi-transparent stain & sealer, Cedar Naturaltone | 2 qt |
- Estimated build cost
- $235–$255
- Pick #2 Prime boards and sight down each one. Take the straightest and grab one spare of each size.
- Treated pine comes wet. Stack the boards flat with scrap spacers between them, out of the sun, for 2–3 weeks before you cut. Dry boards don't shrink or twist after you build.
- Use screws labeled for treated lumber (most coated exterior screws are) and galvanized brackets.
- Sand the faces and edges smooth, then stain once the wood is dry. A cedar-tone stain gives it the honey look in the photos.
- Wear a dust mask when cutting and sanding treated wood, and never burn the scraps.
Estimates based on typical Home Depot prices; your store may vary. Same cuts and same steps in either wood.
6 steps · about 6 hours
- 1Cut the partsFree in 3D1 hr
- 2Build the two end framesFree in 3D1 hr
- 3Stand the ends and add the aprons45 min
- 4Lay the top45 min
- 5Flip it and add the supports30 min
- 6Sand and finish1 hr + drying
Good to know
What sizes are in the plan?
All six: 72 × 34¼ in. (seats 6, from $230 in pine), 84 × 34¼ in. (seats 8, from $235 in pine), 96 × 34¼ in. (seats 10, from $235 in pine), 72 × 40 in. (seats 6, from $255 in pine), 84 × 40 in. (seats 8, from $255 in pine), 96 × 40 in. (seats 10, from $260 in pine). Every one is 30 inches tall.
Can people sit at the ends?
Yes. The ends are open squares: the rails sit 25 inches off the floor and the opening is 27-1/4 inches wide (33 at 7 boards deep), so an 18-inch stool or chair slides in with room for knees.
What goes with it?
The Block Dining Bench slides under one side and the Block Loop Stool tucks under the other. All three come together in the Block Dining Set.
Is it heavy?
Each end frame is about the weight of two 4x4s and four 2x4s, easy for one person in cedar and a firm lift in wet pine. Turning the finished table over for the center supports is a two-person job.
Which tools do I need?
A drill/driver, a miter saw or circular saw, a tape measure, a speed square, a few clamps and a sanding block. Every joint is wood on wood with screws: no pocket holes, no glue-ups, no brackets.
Can I build it in pine to save money?
Yes. The plan comes with a second shopping list in pressure-treated pine, with the same cuts and the same steps. Pine needs a couple of weeks to dry and a coat of cedar-tone stain, but costs well under half as much as cedar.